Negative Ink Blending - Create Striking Contrast With Simple Masking
by Michelle Short August 5, 2026

Hello there, Michelle here with another edition of Terrific Tags with Michelle. Today I have a fun technique to share - negative ink blending.
This technique can be used in lots of different ways. Today I am sharing a simple version of it to create striking constrast between the colorful ink blending in the background (the negative) and the outline image (the positive). This is also a great technique when you do not want to add dimension to a card, but still like the illusion of dimension!

Simple Masking
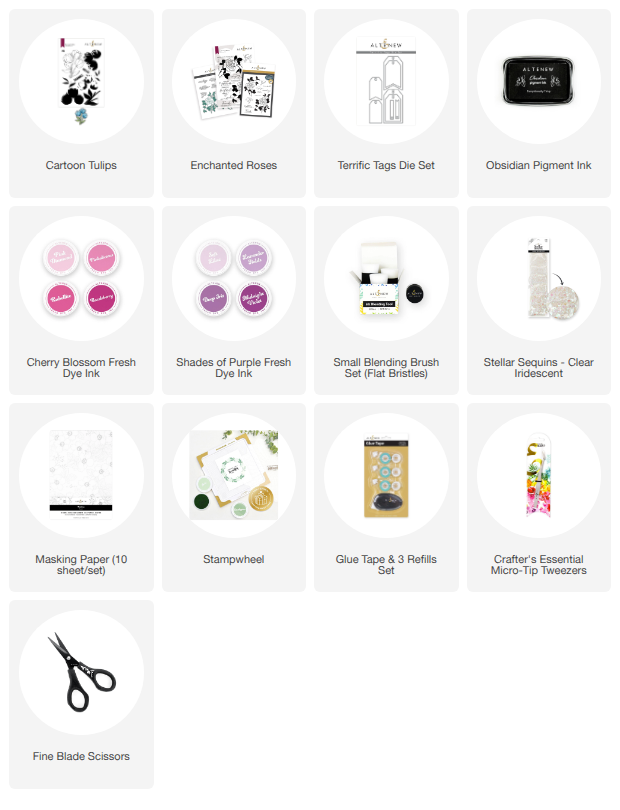
I started off by taking a 4.25" x 5.5" panel of Masking Paper and die cutting one of the largest tags from the Terrific Tags Die Set in the center. This will be used for the negative ink blending.
I then placed a 4.25" x 5.5" panel of white cardstock inside the Stampwheel. I placed the masking paper sheet (without removing the backing) on top, as a guide of where to stamp the image.
I took the tulips image from the Cartoon Tulips Stamp Set and placed it in the middle of the tag opening. I placed the top flip plate of the Stampwheel on top to pick up the stamp.
This is a great image to use for this technique as there are lots of negative spaces to show the ink blending through.

I removed the masking paper, flipped the plate over and inked up the image using Obsidian Pigment Ink. The plate was flipped back around and the image stamped onto the cardstock.
I removed the backing off the masking paper and adhered it onto the panel.
I then took the Cartoon Tulips Die and die cut it from Masking Paper too. I removed the backing and adhered it on top of the image. The masking paper is thin enough so that you can see the stamping through it to line it up. This will prevent the image from getting ink blending on it.

Negative Ink Blending
Using Small Blending Brushes, I added ink blending inside the tag mask opening.
I started off with Pinkalicious Fresh Dye Ink at the top. I then added Deep Iris Fresh Dye Ink in the center, making sure to blend the pink with the purple to get a smooth blend. I then finished off with Midnight Violet Fresh Dye Ink at the bottom.
When ink blending with masks, you want to make sure that you move the brush in all directions to get into all the nooks and crannies of the masking paper!
The masking paper was then removed from the panel, and as you can see, you have the negative ink blending, which in this case is the tag shape, and then you have the non-inked image which looks like it is on top of the tag, even though it is all one layer. I love the contrast between colorful background and the non-colored image!

Card Assembly
I adhered the panel to a white A2 sized card base using Glue Tape.
I then stamped a sentiment from Enchanted Roses Stamp Set onto white cardstock using Obsidian Pigment Ink. It was die cut out using the Enchanted Roses Dies and then I cut the die again from white carstock another two times.
The die cuts were adhered behind the stamped one and then adhered to the card with liquid glue.
To finish, I embellished with Clear Iridescent Stellar Sequins.
Video Tutorial: Negative Ink Blending
I hope I have inspired you to try negative ink blending. I used a tag die for the negative ink blending on my card, but this can be done using lots of different shapes - squares, rectangles, circles etc. You could also stamp or stencil over the ink blending too, to add even more interest to the negative, whilst leaving the image plain. You can watch the video tutorial below or over on YouTube.

Thank you so much for stopping by today, I hope you have a wonderful day!
SUPPLY LIST